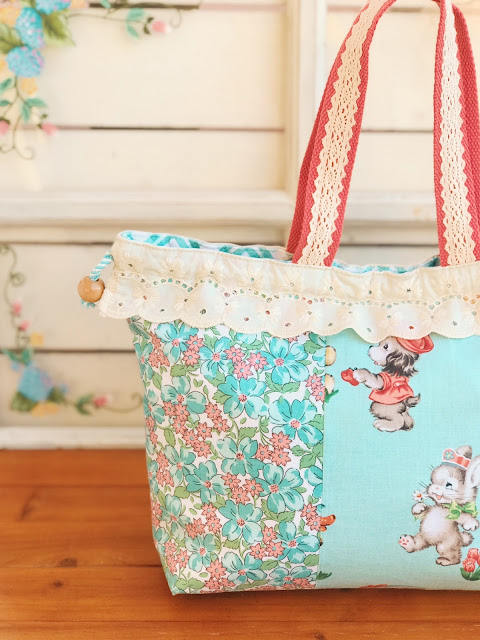
Hello and Happy New Year! I hope you all had a joyous holiday. I'm starting the New Year with a new project to share with you using adorable upcoming fabric - Easter Parade by Lindsey Wilkes of The Cottage Mama for Riley Blake Designs. If you are a huge fan of Lindsey's work (as I am), you will expect cute, retro designs with adorable kitschy animals, mixed with florals and nostalgic prints, using sweet color palettes. Easter Parade is perfect for the Easter holiday and beyond, if you are looking for a design that invokes this spirit.
In this project, I created a sweet Drawstring Bag and Stand Up Pouch. As a thank you for following along, I included a free tutorial for the Stand Up Pouch, so you can make them in time for you Easter baskets!
The Stand Up Pouch is the perfect size to included in Easter baskets or to hand them as little gifts on it own to the recipients. The bottom is gusseted, making it roomy for all the things you can add such as candy, a few Easter eggs, or a small toy. You can also stand the pouch up when you display it.
To make the Stand Up Pouch, here is the Tutorial:
Stand Up Pouch Tutorial
You will need the following materials and tools -
- Two cotton fat quarters in contrasting prints, fusible interfacing in medium weight, one yard of drawstring (thin type), bodkin (to thread the drawstring), point turn tool or chopstick, water soluble marking pen
Steps:
- Adhere the
inner pouch lining to the fusible interfacing (I find having the interfacing
on the inner liner gives a smooth finish to the outer pouch while still giving the pouch body).
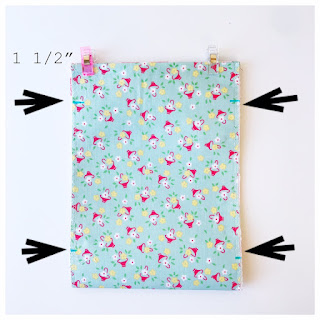
- To make the the channel for the drawstring, open the top side seams (you will have an open side here from the 1 1/2" unsewn seam). Press the open seam back by ¼”, using the sewn seam as a guide. Pin in place and sew using a 1/8” seam around the opening (see picture). Repeat for the other side.
- To insert the cording, starting on either side, use the bodkin to thread the first cording piece into the channel, passing thru the gap to the other end. Take the second cording piece and repeat starting on the opposite side. Once both ends are out, tie each end to secure in place. You are now done!
I hope you enjoyed this project and make many of these little pouches for Easter or any holiday, or even for yourself!
Easter Parade will start to arrive soon into stores, so check your favorite quilt or fabric shop!
Thanks!
Karen


Thanks for writing such a good article, I stumbled onto your blog and read a few post. I like your style of writing... Black satta king
ReplyDeleteReally appreciate you sharing this blog article. Thanks Again. Much obliged.
ReplyDeleteprice of plain tote bags
ReplyDeletewonderful afternoon Zoey Mary is my name. I believe you can appreciate that this isn't the first time I've been here to ask for help or service. All pupils should visit the website Behavior Management Assignment Help. If you ever need help, use one of these blogs, as I have in the past. Over time, I've come to realize that this website is very helpful for providing me with advice, suggestions, and tools to help me make educated decisions and improve my academic performance.
Thank you for this wonderful information shared and the excellent information provided by your article. Many thanks so much for sharing. tops nd and hnd admission form closing date
ReplyDelete